Installing Ubuntu: Pine64

In this new post we are going to follow the firsts steps for installing and configuring an operating system in the new Pine 64, I'm using the 2Gb version, but will work on all the versions. On this tutorial, we are going to install Ubuntu!
Tools we are going to need:
Win32DiskImager: This software will allow us to mount the image of the operating system on our microSD. Some steps later, we will use it also for another propose. We can download it from SourceForge: http://sourceforge.net/projects/win32diskimager/
MicroSD card adapter: We will need an adapter to connect the microSD card to the computer.
Extraction program, I suggest: http://www.7-zip.org/
Ubuntu Installation
First step: Download
Once we have both tools, we will need to download a copy of the operating system, in our case: Ubuntu. I recommend you to download from this repository: https://www.stdin.xyz/downloads/people/longsleep/pine64-images/ubuntu/, It is regularly updated with the latest version. Taking today as reference, the last version is: “xenial-pine64-bspkernel-20160507”, last updated on 07-May-2016 at 20:23.
Once is downloaded, extract the IMG from the compressed downloaded file.
Second step: Mount
Next step is to open Win32DiskImager, from once side, we will select the .IMG of the Operating System we extracted, from the other side, we must select the device we want to mount the OS on: the microSD, in this case is called: "G:".
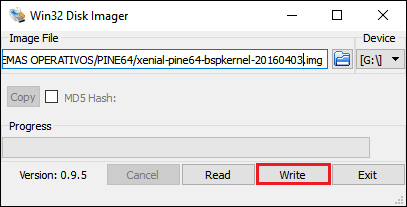
Click on write and wait until the progress bar finishes. Once it’s done, the program will open a popup window, saying it's finished. Then we can safely eject the microSD from the computer. On this step, we will have everything prepared and ready to install.
Third Step: Installation
Remove the SD card savely from your computer and put in the Pine64. Ensure you only have the required peripherals connected, Keyboard, HDMI, LAN. And once you are ready to start, connect the power (Remember using a 2A power supply). When is connected, let the pine64 boot. When completed, use:
Username: ubuntu
Password: ubuntu
To login.
Fourth Step: Configuration
Once logged in, run the following command for resizing the SD card to it's max size:
sudo /usr/local/sbin/resize_rootfs.sh
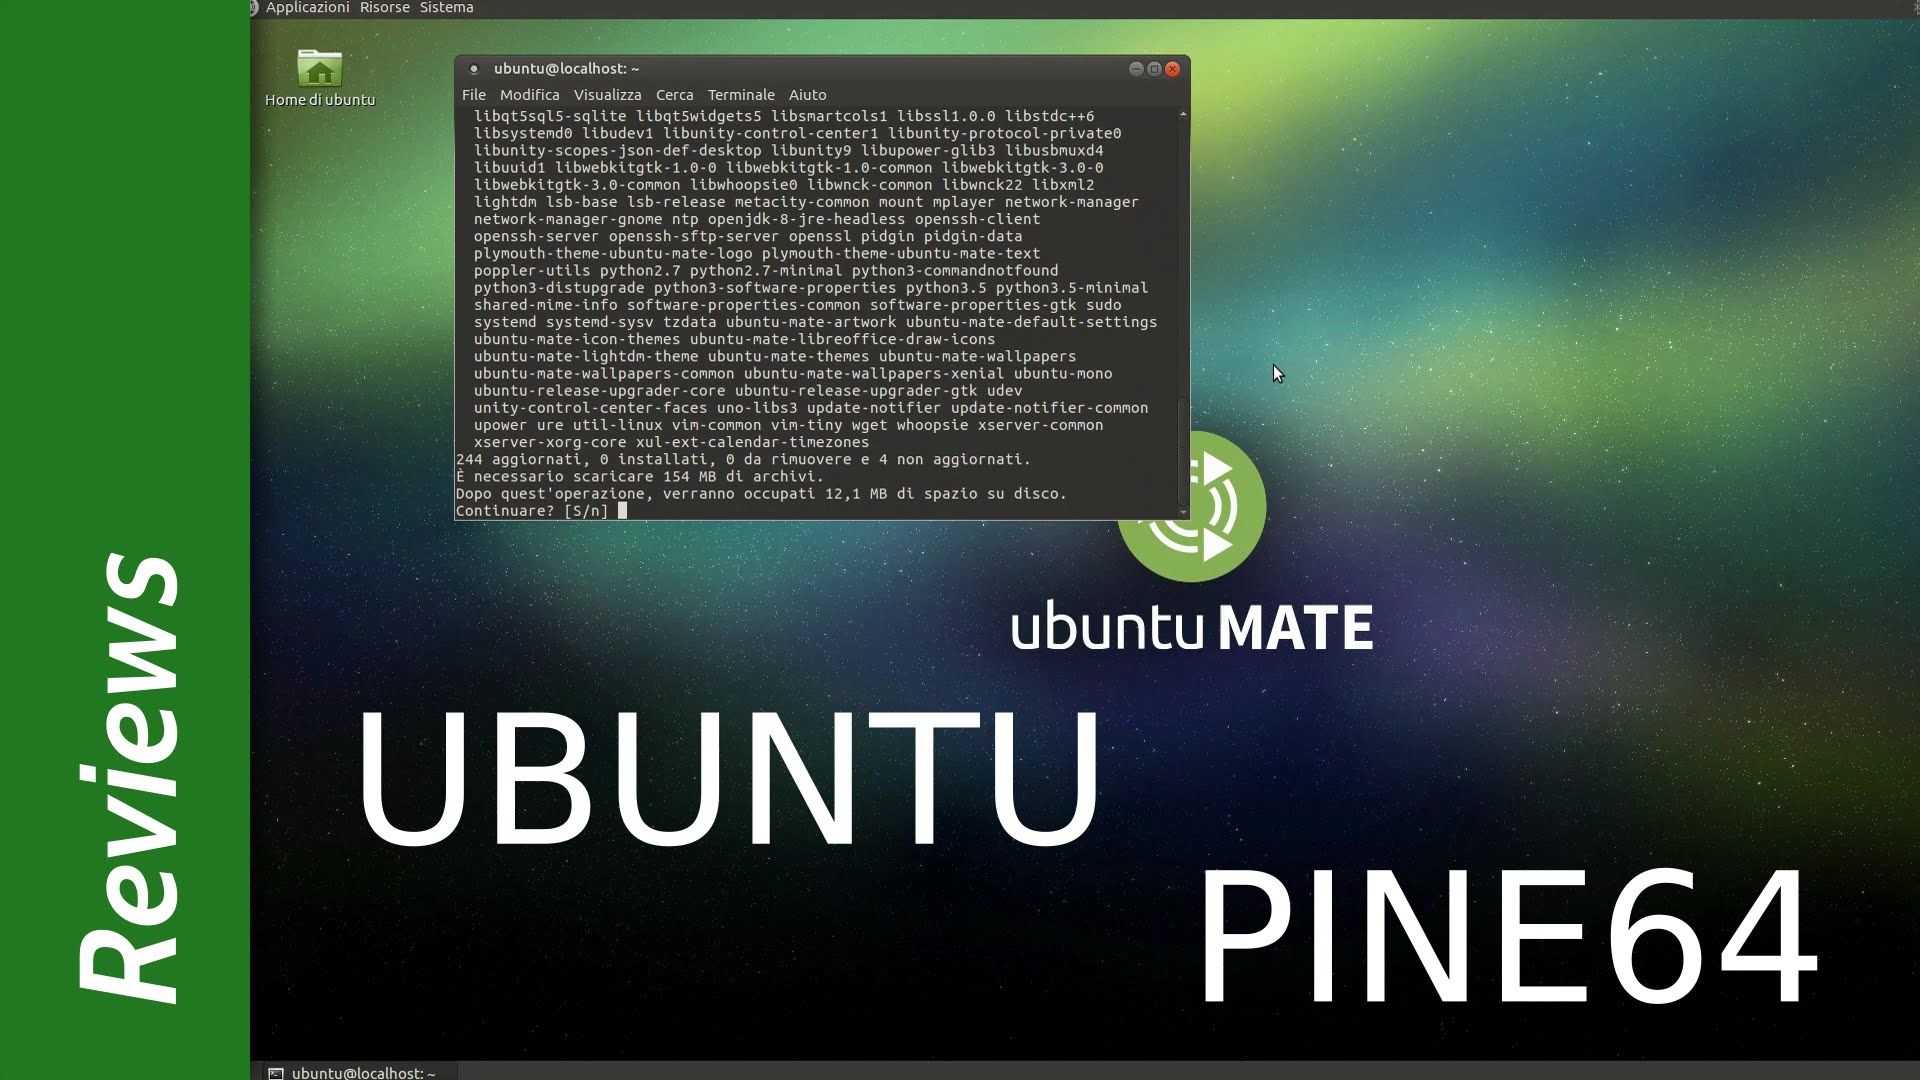
Congrats! At this point, you have a working Ubuntu system on the pine64. If you need a Desktop, you can install MATE, with the following command:
sudo /usr/local/sbin/install_mate_desktop.sh
You can do a backup of the Pine64 and OS, as I explained on the Sixth step of this tutorial: Installing Raspbian, with Win32DiskImager and its Read Option.
I have to thank @damikeh, from the pine64 forums for making a step-by-step guide, on which I inspired for making this tutorial.
If you have any other question, comment it on the comments and see you on the Next!